Showing posts with label christmas. Show all posts

Friday, December 4, 2015

Christmas Countdown

Happy December Krafters!

Ah the holiday season is upon us and today I am sharing over at She's a Sassy Lady. Thanksgiving was last week (which was awesome to spend with the family sharing stories and eating great meals) and by the time this posts, Christmas will be 22 days away! Eeeek! I started Christmas shopping, the tree is trimmed, stockings are hung, but something was missing! I decided to make a countdown calendar. I add little treats or notes each day until Christmas! Side note, the song "Final Countdown" is in my head...thanks Europe and thanks Geiko!
Anywho, I purchased the file (3D Countdown Box Calendar) a couple of years ago from the Silhouette store. Lori Whitlow, the creator of the file, has a wonderful tutorial on how to assemble it. I made this before, so I was able to do it easily by memory. For this project, you will need:

1: 4 12x12 sheets of cardstock or pattern paper for the base 
2: 9 12x12 sheets of cardstock for the boxes
3: 1 12x12 sheet of pattern paper as the decorative parts for the boxes (I used Winter Combo)
4: 1 sheet (scrap piece works fine) for the numbers
5: embellishments to decorate the calendar (optional)


It took me approximately 1.5 hours from start to complete the project. I recommend starting with the frame first so it can have time to dry (liquid glue is best) as the boxes cut and are assembled. 

I was able to get three boxes on one sheet to cut. 
As the sets cut, assemble the boxes and add them to the frame. 
Once all of them are assembled, add the decorative front to the boxes and numbers. 
I decided to just add the penguin (Lawn Fawn) to the 25th and a sentiment to keep it very simple (since the children will be handling this). However, this box can be as dressed up as your imagination allows. 


Well I hope you enjoy today’s project and that you will give it a try! Until next time….sing your favorite holiday songs and be creative! Krafthead~

Friday, December 20, 2013

PS DT Project Treat Holders With A Spin

Hi Krafters!

It's my day to post over at Practical Scrappers! Here is the post....enjoy!!

Hi Fellow Scrappers!

Kenya here to share a project with you all. I don't know about you, but time is moving so quickly, I can barely keep up! Usually, I make treat bags for the students to help them get into the holiday season. However, I did not have the oomph to do it this year. I decided to make one "big" treat holder (for each of the girls that attend school) for the entire class. I used two 3D files (3D tree and 3D sleigh) from the Silhouette Store to make them. I modified them to fit the Dumb Dumbs (suckers).
For the tree, I resized it to make it a bit larger. I cut each of the pieces and assembled. Once assembled, I used my Big Bit to make holes for the suckers. You could add holes to the file to eliminate this step. Since there is a base, I marked the holes from the top of the tree and punched those out as well. The suckers are the tree's ornaments!
 
The sleigh was a little more involved but so worth it to me (I made two of them). I assembled the sleigh as it would be normally. I added an insert and punched holes for the suckers on the inside of the sleigh. Since the weight of the suckers were too heavy, I reinforced the sleigh with two support boxes on the bottom of the sleigh.

 
 I used a sturdy cardstock. You can use cute pattern papers and go as elaborate as you choose. I decided to keep these simple since they are going to given to elementary school aged children.

I hope you enjoyed today's project(s)! What do you think? Pretty cute huh?!?! I think so! Happy Holidays to each and every one! Krafthead~

Thursday, December 19, 2013

SOC DT Project-Christmas Wall Project Share....On the Cheap!

Hi Krafters!

I know it has been months and Sundays since my last post! So much has happened....

I wanted to share this month's DT project for Scraps of Color. Here it is:


OMGness Christmas is less than a week away! Have you decorated your home yet? I JUST finished! Sad but true. Today I would like to share a couple of projects with you that is easy to put together and get the kiddos involved! Best of all, you can use what you have on hand :)

Snowflake:

Supplies-

 Parchment paper or a non-stick mat

Pearls/beads loose

Pearl/bead strand

Hot glue (gun)

1. First lay down a dab of glue to the mat and press in a pearl or bead.

2. Add a glue around the pearl/bead and add more beads around the center bead

3. Add a line of glue making sure glue is touching the cluster of beads in the middle

4. Design as you wish

If the children are doing this, please supervise them as the glue is HOT!! The snowflake can be used as an ornament or as I did here as an embellishment to this wall hanging.

Wreath:

You will need-

Die cutting machine

Wreath file-mine is from the Silhouette Store

Beads

Ink

Ribbon

Glue

Cardstock/paper (of course)

I cut out the circle and the leaves from the file. I did not cut all of the pieces that came with the file. You may want to cut extra leaves to make your wreath fuller. I used a blue and white cardstock which coordinates with the color scheme of the tree. Once the components were cut, I stapled the ribbon to the base layer. While I was doing this, the girls used ink to ink around the edges. We  assembled the leaves and adhered them down. I added silver beads (again to go with the color scheme, but you can use any color you wish) in clusters to mimic berries. We did this randomly throughout the wreath. Once the wreath was dry, I tied the ribbon we stapled earlier and added the snowflake embellishment.

Here is the finished wall:
 

I hope you enjoyed today's project! It is a good way to get some projects done and keep the kids busy too. Thanks for stopping by, Krafthead~

Friday, December 21, 2012

Napkins/Kitchen Towels


Hello Krafters!

Kenya here to share some last minute and inexpensive home décor or gift ideas with you. As many of you know, I LOVE vinyl! One reason is because it cuts so beautifully on the BossKut Gazelle. The other reason is you can customize SO many things with it.

Today, I am sharing two projects (dinner napkin and hand towels) using Heat Transfer Vinyl which can be purchased at BossKut.com. For both projects I used the Mini Holly Collection. There are so many files in this collection. I guarantee you will not be disappointed. I decided to only use the holly.

I brought the file into FunTime and typed in the family’s name. When cutting HTV, make sure you mirror the images. I cut them out on the BossKut Gazelle using the vinyl blade with a speed of three and a force of 4 (because of the glitter vinyl). I did not do a kiss cut on this particular type of vinyl like I normally do. I used my heat press for the projects, but a good ole trusty iron will work too with a Teflon sheet. PLEASE make sure your images do not shift! One of mine did, BUT this is just for my home so it did not bother me much!

First I started with the holly and the lettering. I heated it for approximately 10 seconds. I peeled off the plastic and applied the berries and set it for another 10-15 seconds. Peel off the plastic. That is it! My kitchen is festive and I have some cool napkins too J

I hope you enjoyed today’s project. Please stop by BossKut.com for files, supplies and inspiration, Krafthead~

*Please note, if you are gifting Terry Cloth towels, please let the recipient know they are for decoration only! The vinyl can peel due to the type of cloth. The napkins are fine to use J

Files:

Wednesday, December 19, 2012

Scraps of Color DT Project-Tree Skirt


Hello Krafters!

Like clockwork my Christmas tree is up by the Sunday following Thanksgiving! For the last few years I vowed I was going to make a tree skirt which was going to be an heirloom. I had all of these ideas. Life happened and that project did not manifest…yet. However, I had some felt and some heat transfer vinyl (my new favorite) left over and went to work!

The images are from the Silhouette store and they were cut on the Cameo. After they were cut (blade set at 3) I adhered the vinyl (heat press, but you can use your iron on the highest setting) and that was that! The best thing is about this project is that it was made from scraps and it is a project my family and I can admire for years to come!!!! It looks better in real life!

I hope you all enjoyed today’s project and you will try it out yourself. Enjoy your holiday season, Krafthead~

Monday, December 10, 2012

Practical Scrappers DT Project-Turtle Dove

Hi Krafters!

Today over at Practical Scrappers, a fellow DT member Julie and I decided collaborate (well actually she graciously shared her spot with me) to and use the gorgeous Turtle Dove Collection by Kaisercrafts.  Julie, thank you for sharing your post with me and for the inspiration! Please go over to Practical Scrappers to see Julie’s beautiful creations! I actually have two projects to share with you!! Enjoy:

My first project is a 6x6 card. I fussy cut the images from the collection. I also added a Cherry Lynn doily using a pattern from the collection. 

There are several pieces of pattern papers from the collection.


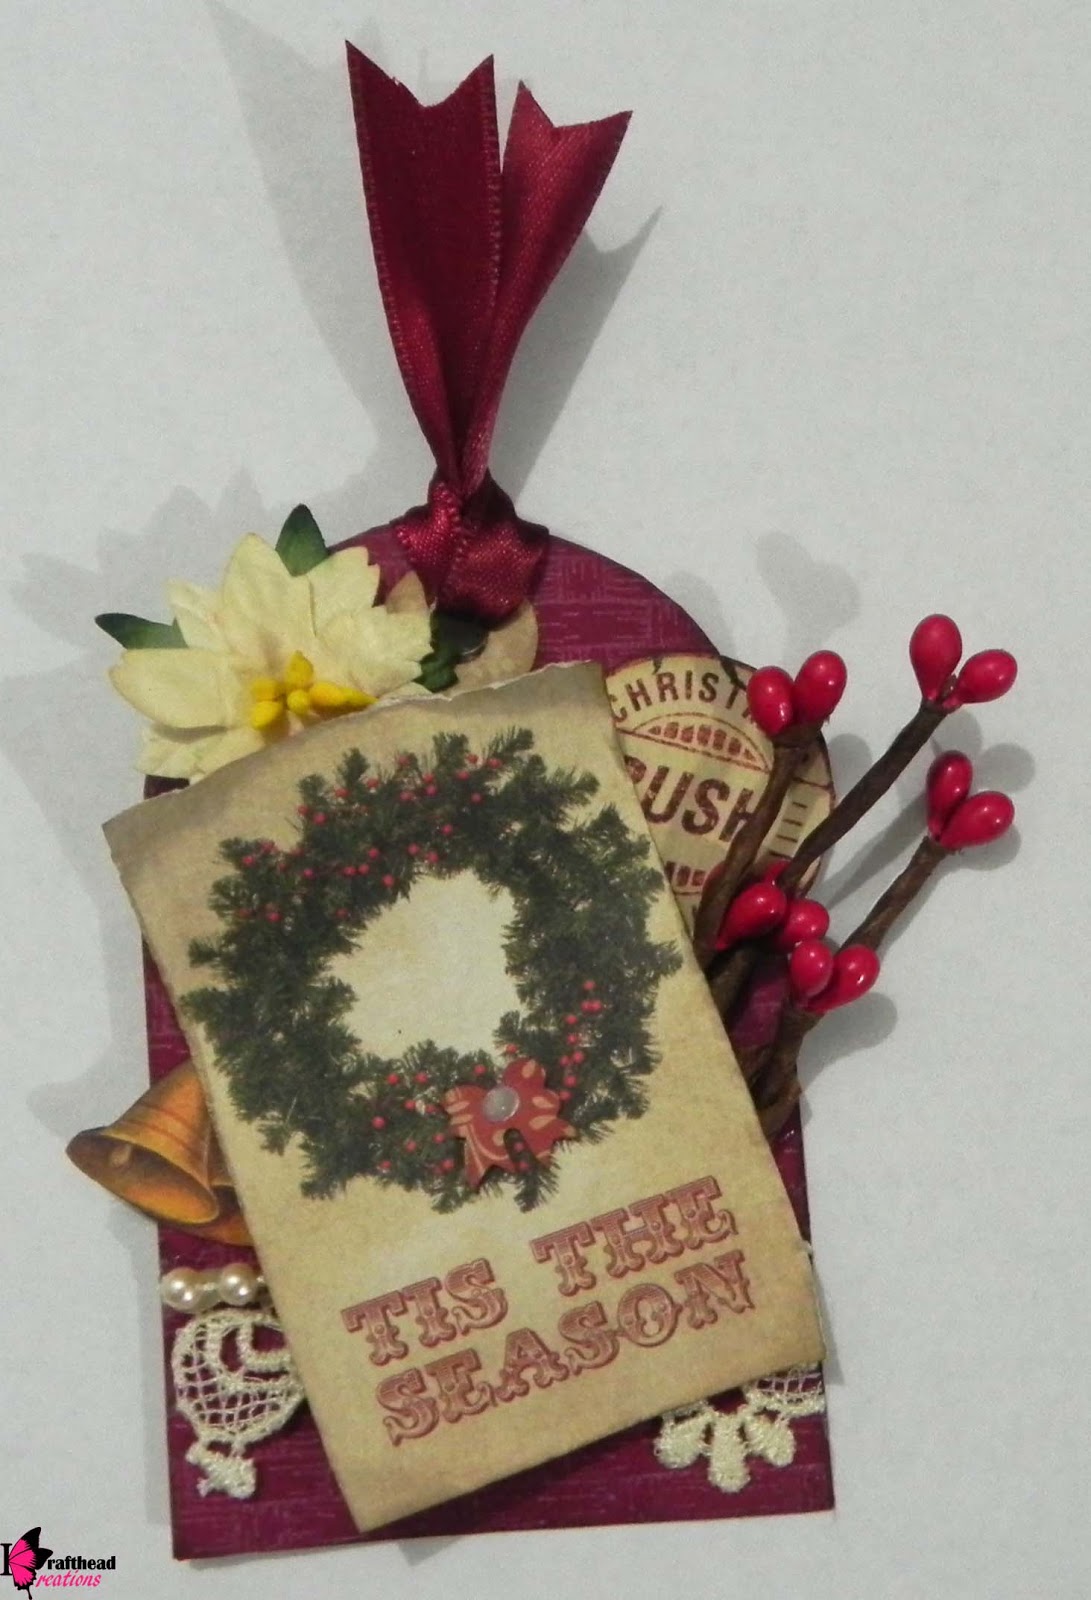
The second project is a tag. On the tag I used an image from the collection. 

I also fussy cut the bell from the collection. Then I used berries I had from Michaels.

I hope you enjoyed today’s project! Please remember to stop by PS and show Julie some love! Thanks or stopping by, Krafthead~

Supplies:
Turtle Dove-Kaisercrafts
Cherry Lynn
Cranberry Color Wash
Ribbon
Walnut Stain Distress Ink
Berries
I Am Roses-Poinsettia
Clam Baked Beige-Lindy’s Stamp Gang
Lace


Wednesday, December 5, 2012

Season's Greetings~


Hi Krafters!

Today I am sharing a card that I made for a challenge. I really like how this one turned out. The good thing is this card can be massed reduced. I designed it on my Gypsy using the Teresa Collins Silhouette digital and Paper Doll Dress Up cartridges. 

Since it has been a while, I don’t remember the pattern paper exactly. I used a mixture of DCWV’s Winter Magic and their stack from last year-my apologies.L The sentiment was heat embossed using Lindy’s Stamp Gang Sheba’s Silver.

I hope you enjoyed today’s project. Thanks for stopping by, Krafthead~

Other Supplies:
White Gel Pen
Denim Distress Ink

Monday, December 3, 2012

Silent Night


Happy December Krafters!

I started sharing Christmas/holiday related projects last week. However, this is my official holiday project share of the season! This is time of year for joy, peace and fellowship...Yay for the holidays!

Last year I did 25 days of projects…like last year, I will share cards, gift ideas and décor for the holidays, but it will not be each day! Don’t despair! There is a lot of inspiration coming your way J

inside of the card

Today I am sharing a card I made for a swap hosted by Mary Ann. We had to make 10 cards. Here is a video of how this card was put together.

 card front

matching envelope and card

 matching envelope


I hope you enjoyed today’s project. Thanks for stopping by, Krafthead~

Friday, November 30, 2012

Trim the Tree


Hi Krafters!

For the last two years or so, my daughters and I make ornaments for the Christmas tree. It allows us to spend time together and it keeps them busy for a while. This year, I wanted to try my hand at cutting felt with the Gazelle! Let me tell you, I was not disappointed!

When I saw the Moose File, I HAD to use it for this year’s ornament! The file has several layers to it, but I only used two of the layers.  To cut the felt, I used a small amount of Stiffy stabilizer (the more you use, the stiffer the felt will become). Once the felt was dry, I cut it out on my Gazelle using a deep cut blade, force of 6 and a multi-cut of 3. It cut with no problem at all using these settings. I only had brown and white felt so I colored the face with a glimmer spray. I also used googly eyes…so cute! The nose of the Moose was cut with the left over felt when I cut the antlers.

The ornament is light, but I used an eyelet to give the ribbon a little more support. Since the googly eyes have lashes, I made the Moose a girl by adding a bow.  That’s it!

I hope you all enjoyed today’s project! Check out BossKut.com for files and inspiration! Remember, you can cut these files in MTC, Silhouette Studio Deluxe Edition and SCAL! Thanks for stopping by, Krafthead~

Files:

Friday, January 13, 2012

Paper Bag Mini Swap

Happy Friday Krafters!
In November, I was in a Christmas Paper Bag Mini Swap with Kelli from My Favorit8 Blog. She did an amazing job and I HAD to share! Kelli used gift bags for this mini! It is beautiful! The way she made this mini allows me to use larger pictures. There is plenty of room for photos and journaling. A lot of love and time went into this mini. Thank you Kelli J


here is one of the many larger mats for the mini:


Isn't it lovely? Stop by her blog and check out some of her other beautiful projects! Thanks for stopping by, Krafthead~

Monday, December 19, 2011

Day 19-OCTC

Happy Monday Krafters!

Gosh, can you believe Christmas is less than a week away? Are you done with your holiday shopping or krafting? I still have a couple of projects to finish up...it is down hill from here!

Today, I would like to share a simple, simple, simple card! I whipped this out in a matter of minutes with the help of my Cuttlebug, Imagine and Martha Stewart border punch!
Materials:
Cuttlebug-Winter Woodland Embossing Set
Imagine-Snow Angel
Martha Stewart Branch Punch
Diamond Stickles
Liquid Pearls
Bell
Ribbon
Black Soot Distress Ink

Saturday, December 17, 2011

Day 17-OCTC

Happy Saturday Krafters!
Welcome to day 17 on the count UP to Christmas Day! Our children are important to us. Aside from us, their teachers help mold them into men and women. We must not forget our teachers! For today’s project, I would like to share a quick, but functional project a teacher can use all year long.
I have wanted to use the new chalkboard paper by DCWV since it was introduced a couple of months ago! When I made this, I knew I had to incorporate it. So for this gift, I kept it simple. I used the Black Currant Stack by DCWV as well.
To make this, it is important to use a thick cardstock or chipboard. I used one 8.5”x11 black Bazzill cardstock for the base. I folded it in half and one side in half to make an easel. I added the pattern cardstock just to jazz it up a little bit. I printed the calendar using Publisher. I cut the frame using the Top Note and Classic Oval Nestability. I used an embossing folder to bring a little texture to the project. I also added on lone flower to it. Again, it is about function more than beauty.
For the base, I cut another Top Note shape and mounted the sticky notes to it. I also cut the “to do” side with the Nestabilities and added a place to store the chalk. It did not take long to put this all together.
Please remember our educators during this Christmas season! Thanks for stopping by, Krafthead~


Materials:
DCWV-Black Currant, Chalkboard
Bazzill-base
Paper Trey Ink-Vanilla
Mulberry Flower
Glimmer Mist-Gold-flower
Cuttlebug Embossing Folder
Chalk
Stamp-frame
Black Pearls
Hot Glue Gun